Laptop Schematic Reading -05
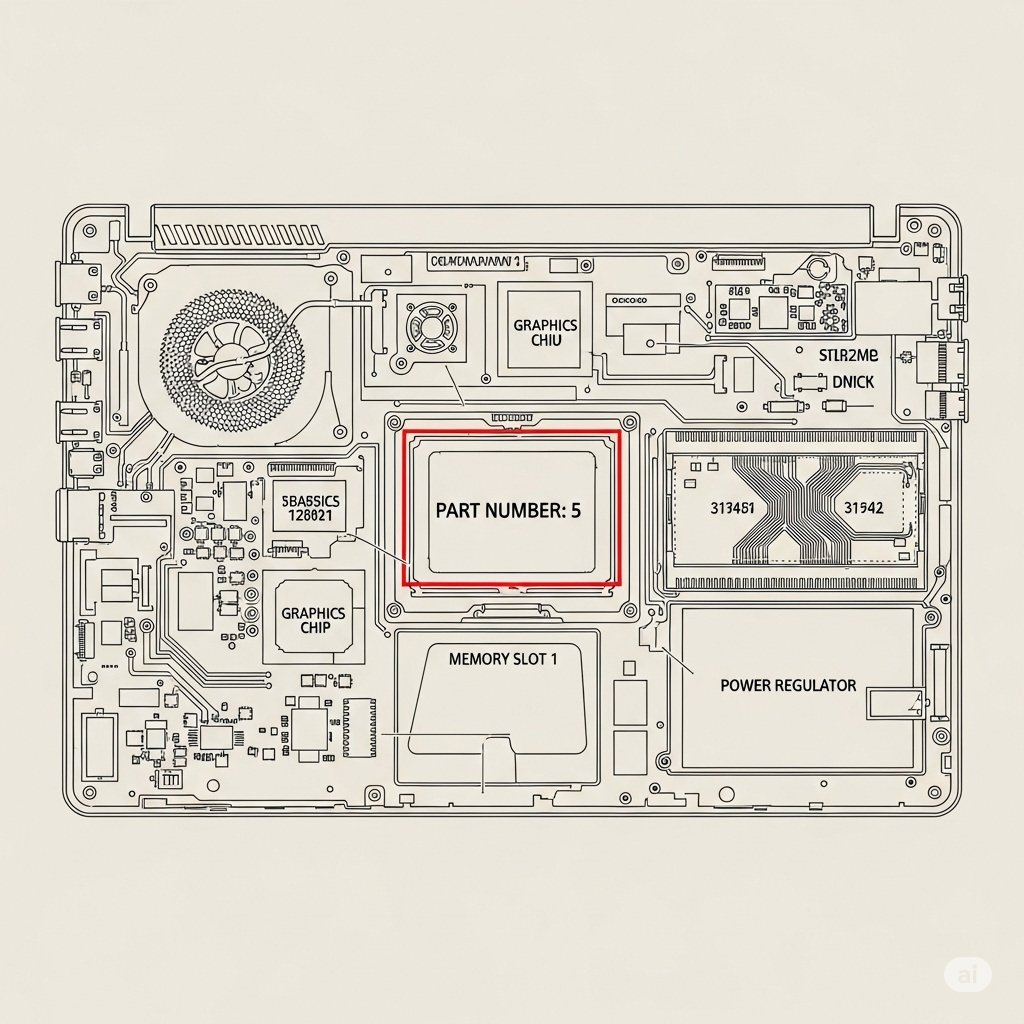
Alright, let’s get into the nitty-gritty of laptop schematic reading! Imagine we’re becoming super-sleuths, decoding a secret map of your laptop’s inner workings.
Think of it like this: A laptop schematic is like a blueprint for a really, really complicated electronic city. It shows you where all the tiny buildings (components) are, how they’re connected by roads (wires), and what each building does.
Here’s a breakdown of what you’ll encounter:
-
Component Symbols: The “Buildings”
- These are like little pictures that represent electronic parts:
- Resistors (R): Zigzag lines or rectangles. They’re like speed bumps, controlling how much electricity flows.
- Capacitors (C): Two parallel lines or cylinders. They store electricity, like tiny batteries.
- Inductors (L): Coiled lines. They store energy in a magnetic field.
- Transistors (Q): Little switches that control the flow of electricity.
- Integrated Circuits (ICs or U): Rectangles with many legs. They’re like mini-computers, doing complex jobs.
- Diodes (D): Arrow like symbol. They let electricity flow in only one direction.
- These are like little pictures that represent electronic parts:
-
Lines and Connections: The “Roads”
- These show how the components are connected:
- Power Lines: Thick lines that carry electricity from the power source.
- Signal Lines: Thin lines that carry messages between components.
- Ground Lines: Lines that provide a return path for electricity.
- These show how the components are connected:
-
Labels and Values: The “Street Signs”
- These tell you what each component is and what it does:
- Component Designators: Letters and numbers that identify each component (e.g., R1, C5, U10).
- Component Values: Numbers that tell you how much a component does (e.g., 10kΩ for a resistor, 10µF for a capacitor).
- Voltage Labels: Numbers with a “V” (e.g., 3.3V, 5V) that tell you the voltage at a point in the circuit.
- These tell you what each component is and what it does:
-
Blocks and Sections: The “Neighborhoods”
- Schematics are often divided into sections:
- Block Diagrams: Big boxes that show the main sections of the motherboard.
- Pages: Schematics can be multiple pages, with arrows or labels that show you how they connect.
- Schematics are often divided into sections:
-
Test Points (TP):
- These are marked locations where you can measure voltage or resistance. They are useful for troubleshooting.
How to Start Reading:
- Start Simple: Don’t try to understand everything at once. Pick a small section and focus on that.
- Follow the Lines: Trace the lines to see how the components are connected.
- Use the Labels: Pay attention to the labels and values to understand what each component does.
- Look for Patterns: You’ll start to see patterns in how the components are connected.
Important Safety Tips:
- Adult Supervision: Always have an adult who knows about electronics help you.
- Power Off: Always make sure the laptop is unplugged and the battery is removed before you start working on it.
- Be Careful: Electronic components are small and delicate.
Think of it like this:
Learning to read schematics is like learning a new language. It takes time and practice, but it’s a very useful skill.
I hope this helps!


